A content type is a blueprint that describes the type of content you can put in it as well as what structure it should take.
When you're putting a blog together in Strapi CMS , your "Blog Post" might have spaces to include a title, content, author, and publication date, amongst other things.
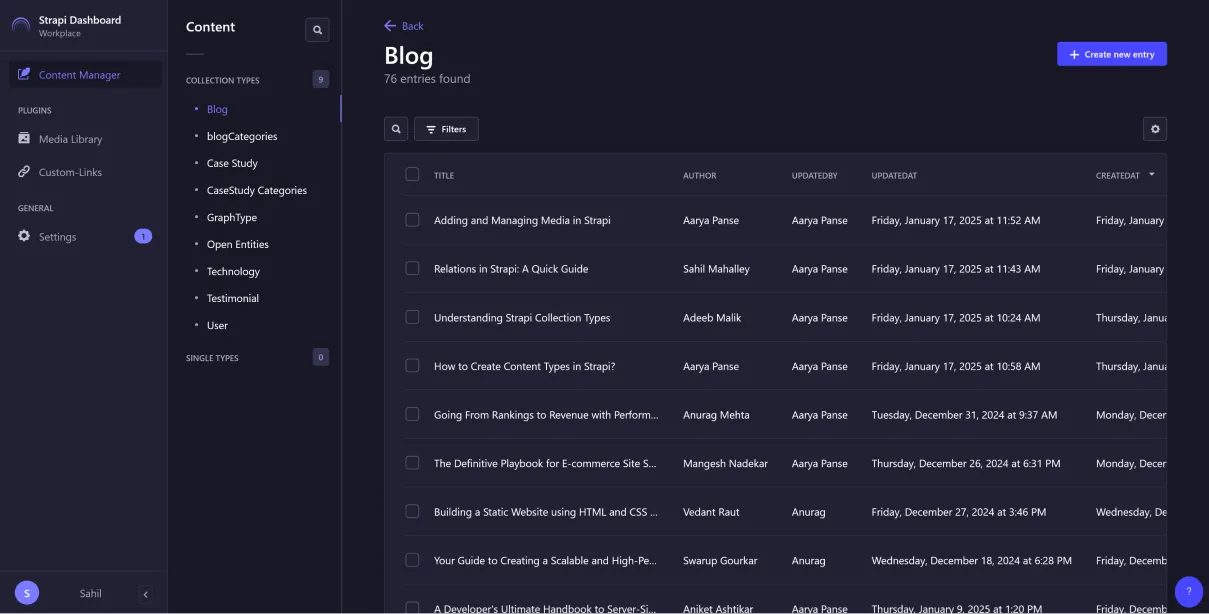
Collection Types vs Single Types Collection Types Single Types Think of these as repeatable content, like blog posts or products. You can create multiple entries using the same structure. These are for one-off content pieces, like your "About Page" or "Homepage". You'll only have one instance of these.
Your content types are built using three main elements Fields: These are the basic building blocks, like text boxes, numbers, or dates.Components: Think of these as reusable content chunks, like an "Image Gallery" that you might want to use in multiple content types.Dynamic Zones: These are flexible areas where you can mix and match different components.
Prerequisites for Content Type Creation Make sure you can log into your Strapi admin panel Check that you have a "Super Admin" role or appropriate permissions Ensure you can access the Content-Type Builder
Step-by-Step Content Type Creation Let's walk through creating your first content type:
Accessing the Content-Type Builder Log into your Strapi admin panel Click on "Content-Type Builder" in the left sidebar Look for the "Create new collection type" or "Create new single type" button Choosing Your Type Select "Collection Type" for repeatable content Choose "Single Type" for one-off content pages Setting Up Basic Information Display Name: Choose a clear, descriptive name (e.g., "Blog Post")API ID: This will be generated automatically, but you can customize itAPI Endpoint: Review the automatically generated API endpoint Content Type Settings Configure basic settings like the draft/publish system Set up internationalization if needed Choose visibility options
Adding Fields to Your Content Type This is where you define what information your content type will contain:
Available Field Types Common field types include: Text (short and long) Number Date Media Boolean (true/false) Email Passowrd Enumeration (dropdown) Essential Field Configurations For each field, consider:
Required Fields: Mark fields that must be filled Unique Fields: Ensure certain values aren't duplicated Default Values: Set starting values for fields Advanced Field Settings Configure additional options:
Set minimum/maximum values or lengths Add custom validation rules Format settings for special fields
Configuring Advanced Features
Let's explore better ways to structure your content:
Setting Up Components Components are reusable content blocks that can be shared across different content types:
Navigate to "Components" in the Content-Type Builder Click "Create new component" Group related fields together (e.g., "SEO Metadata" component with title, description, and keywords) Choose between single and repeatable components Implementing Dynamic Zones Dynamic zones offer flexible content creation:
Create a dynamic zone by adding it as a field Add multiple component options to the zone Allow content editors to choose which components to use and in what order Perfect for flexible page layouts or varied content sections Establishing Relationships Connect your content types in meaningful ways:
One-to-One Relationships Use for direct connections (e.g., one user profile per user Select "Relation" field type Choose the related content type Set the relationship type to "One-to-One" One-to-Many Relationships Perfect for cases like "one author has many articles" Configure the relation field Choose "One-to-Many" option Set up the reverse relationship if needed Many-to-Many Relationships Ideal for complex relationships (e.g., products in multiple categories) Set up a relationship field Select "Many-to-Many" option Define relationship parameters Configuring Permissions Set up access controls :
Go to Settings → Roles Select the role you want to configure Set permissions for:Creating entries Reading entries Updating entries Deleting entries
Testing and Validation Ensure your content type works as intended:
Preview Functionality Create test entries Review how fields display Check responsive behavior Verify component rendering API Endpoint Testing Check the auto-generated API endpoint Test GET requests to verify data retrieval Try POST requests to create new entries Verify PUT and DELETE operations Content Entry Validation Test required field validation Verify unique field constraints Check format validations Test relationship functionality Common Troubleshooting Steps If issues arise:
Check field configurations Verify permissions settings Review API response codes Check error messages in the admin panel By reading this guide, you have learned to… Plan and structure your content effectively Take advantage of features like components and dynamic zones Optimize for performance and security. Develop flexible, scalable content architectures.